A Beginner's Guide to Building Outdoor Light Shows Synchronized to Music with Open Source Tools | Docker
Outdoor light displays are a fun holiday tradition — from simple light strings hung from the eaves to elaborate scenes that bring out your competitive spirit. If using open source tools, thousands of feet of electrical cables, custom controllers, and your favorite music to build complex projects appeals to you, then the holiday season offers the perfect opportunity to indulge your creative passion.
I personally run home light shows at Halloween and Christmas that feature up to 30,000 individually addressable LED lights synchronized with dozens of different songs. It’s been an interesting learning journey over the past five years, but it is also one that almost anyone can pursue, regardless of technical ability. Read on for tips on how to make a display that’s the highlight of your neighborhood.
Getting started with outdoor light shows
As you might expect, light shows are built using a combination of hardware and software. The hardware includes the lights, props, controllers, and cabling. On the software side, there are different tools for the programming, also called sequencing, of the lights as well as the playback of the show.

Hardware requirements
Lights
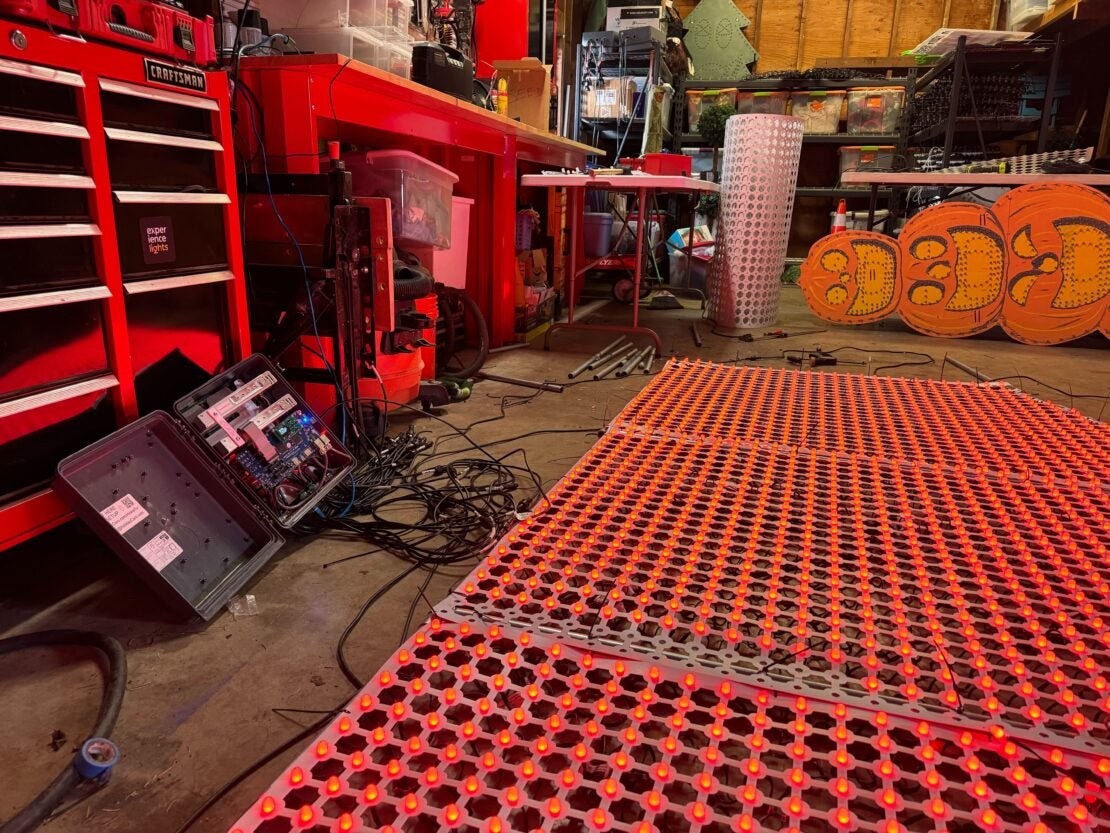
Let’s look more closely at the hardware behind the scenes starting with the lights. Multiple types of lights can be used in displays, but I’ll keep it simple and focus on the most popular choice. Most shows are built around 12mm RGB LED lights that support the WS2811 protocol, often referred to as pixels or nodes. Generally, these are not available at retail stores. That means you’ll need to order them online, and I recommend choosing a vendor that specializes in light displays. I have purchased lights from a few different vendors, but recently I’ve been using Wally’s Lights, Visionary Light Shows, and Your Pixel Store.
Props
The lights are mounted into different props — such as a spider for Halloween or a snowflake for the winter holidays. You can either purchase these props, which are usually made out of the same plastic cardboard material used in yard signs, or you can make them yourself. Very few vendors sell pre-built props, so be ready to push the pixels by hand — yes, in my display either I or someone in my family pushed each of the 30,000 lights into place when we initially built the props. I get most of my props from EFL Designs, Gilbert Engineering, or Boscoyo Studio.

Controllers
Once your props are ready to go, you’ll need something to drive them. This is where controllers come in (Figure 3). Like the props and lights, you can get your controllers from various specialized vendors and, to a large extent, you can mix and match different brands in the same show because they all speak the same protocols to control the pixels (usually E1.31 or DDP).
You can purchase controllers that are ready to run, or you can buy the individual components and build your own boxes — I grew up building PCs, so I love this degree of flexibility. However, I do tend to buy pre-configured controllers, because I like having a warranty from the manufacturer. My controllers all come from HolidayCoro, but Falcon controllers are also popular.
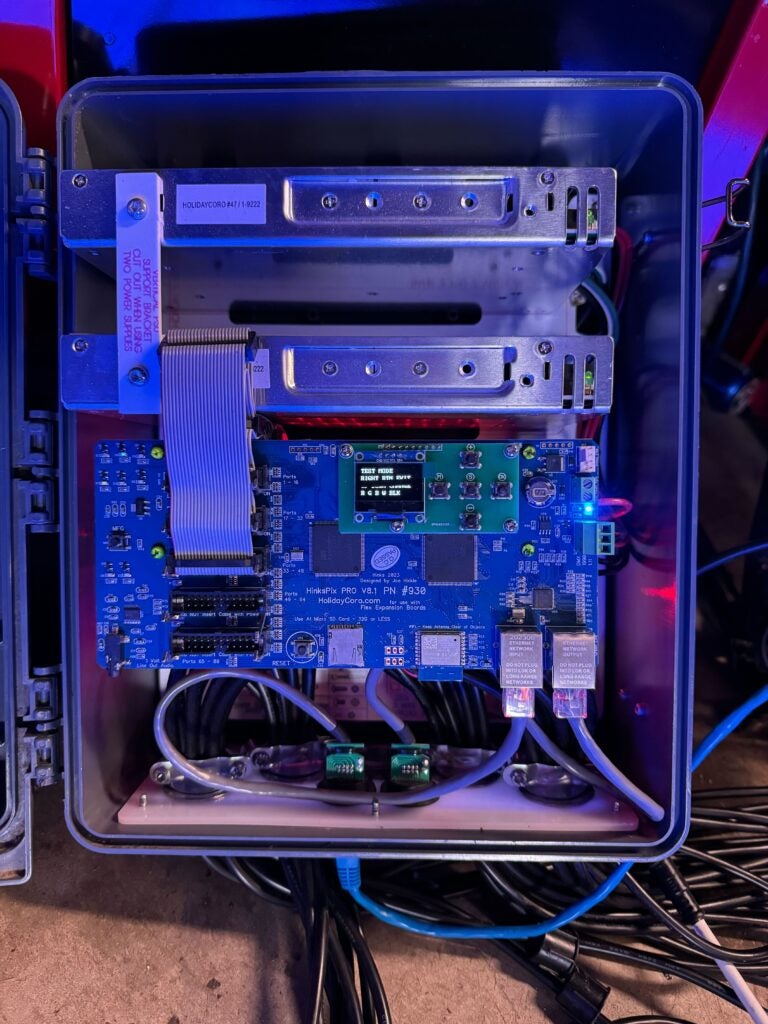

The number of controllers you need depends on the number of lights in your show. Most controllers have multiple outputs, and each output can drive a certain number of lights. I typically plan for about 400 lights per output. Plus, I use about three main controllers and four receiver boxes. Note that long-range receivers are a way of extending the distance you can place lights from the main controller, but this is more of an advanced topic and not one I’ll cover in this introductory article.
Cables
Although controllers are powered by standard household outlets, the connection from the controllers to the lights happens over specialized cabling. These extension cables contain three wires. Two are used to send power to the lights (either 5v or 12v), and a third is used to send data. Basically, this third wire sends instructions like “light 1,232 turn green for .5 seconds then fade to off over .25 seconds.” You can get these extension cables from any vendor that sells pixels.
Additionally, all of the controllers need to be on the same Ethernet network. Many folks run their shows on wireless networks, but I prefer a wired setup for increased performance and reliability.
Software and music
At this point, you have a bunch of props with lights connected to networked controllers via specialized cabling. But, how do you make them dance? That’s where the software comes in.
xLights
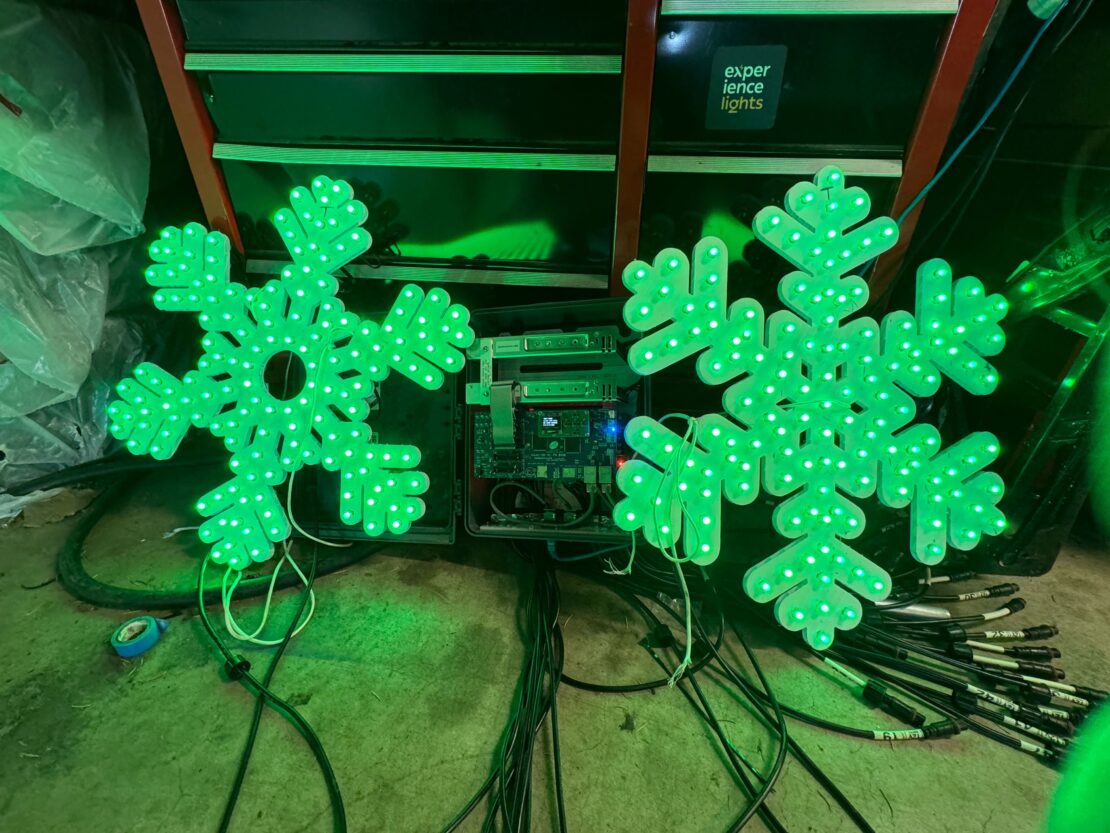
Many hobbyists use xLights to program their lights. This software is open source and available for Mac, Windows, and Linux, and it works with three basic primitives: props, effects, and time. You can choose what effect you want to apply to a given prop at a given time (Figure 4). The timing of the effect is almost always aligned with the song you’ve chosen. For example, you might flash snowflakes off and on in synchronization with the drum beat of a song.


Music
If this step sounds overwhelming to you, you’re not alone. In fact, I don’t sequence my own songs. I purchase them from different vendors, who create sequences for generic setups with a wide variety of props. I then import them and map them to the different elements that I actually use in my show. In terms of time, professionals can spend many hours to animate one minute of a song. I generally spend about two hours mapping an existing sequence to my show’s layout. My favorite sequence vendors include BF Light Shows, xTreme Sequences, and Magical Light Shows.
Falcon Player
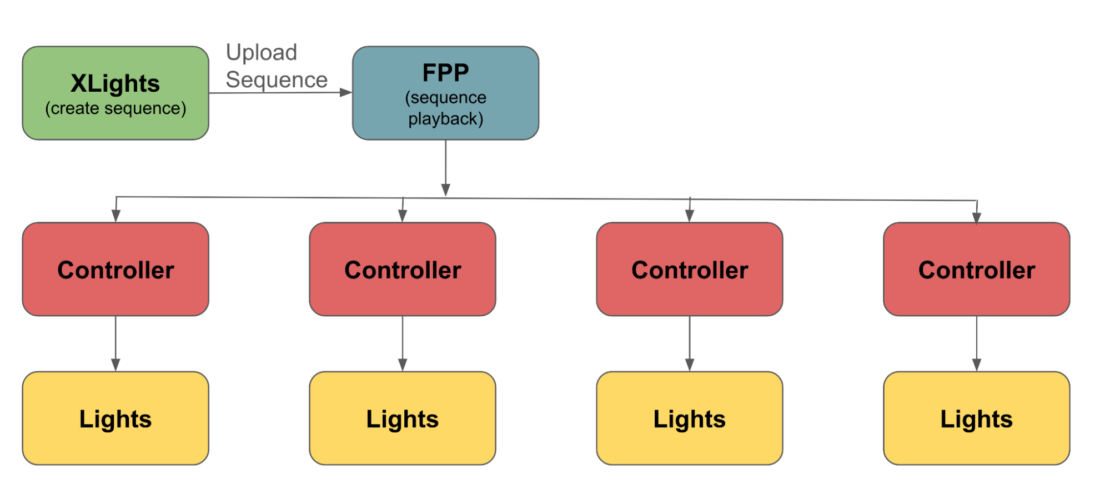
Once you have a sequence built, you use another piece of software to send that sequence to your show controllers. Some controllers have this software built in, but most people I know use another open source application, Falcon Player (FPP), to perform this task. Not only can FPP be run on a Raspberry Pi, but it also is shipped as a Docker image! FPP includes the ability to play back your sequence as well as to build playlists and set up a show schedule for automated playback.
Put it all together and flip the switch
When everything is put together, you should have a system similar to Figure 5:

This example shows a light display in action.
xLights community support
Although building your own light show may seem like a daunting task, fear not; you are not alone. I have yet to mention the most important part of this whole process: the community. The xLights community is one of the most helpful I’ve ever been part of. You can get questions answered via the official Facebook group as well through as other groups dedicated to specific sequence and controller vendors. Additionally, a Zoom support meeting runs 24×7 and is staffed by hobbyists from across the globe. So, what are you waiting for? Go ahead and start planning your first holiday light show!

